How to Fix SQL Server with SQL Recovery Software?
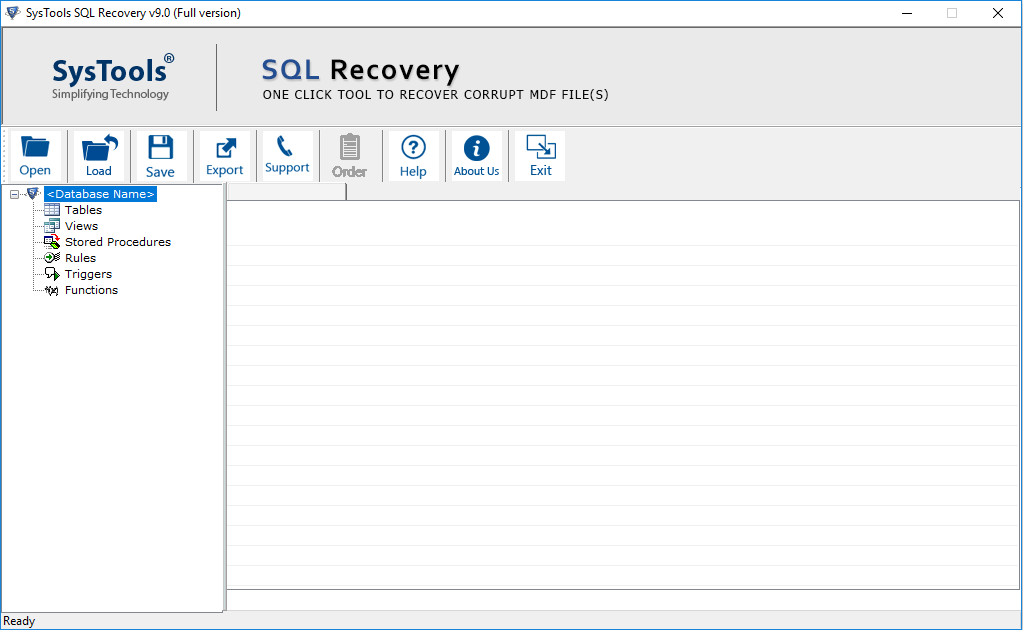
- Go to Start menu » Programs » SQL Recovery Software.
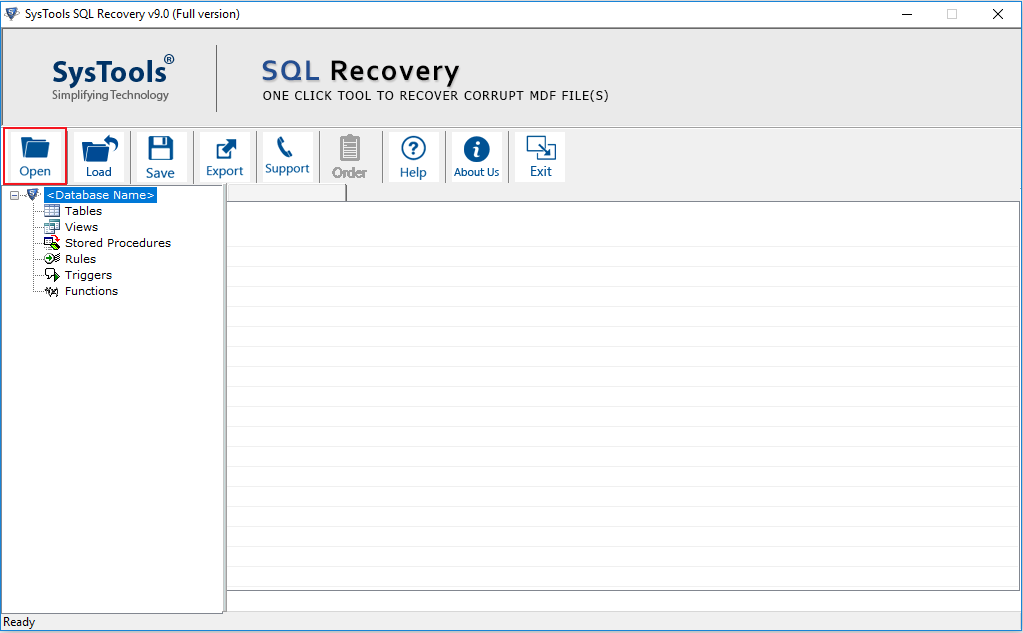
- Click on Open, in order to open the MDF files.
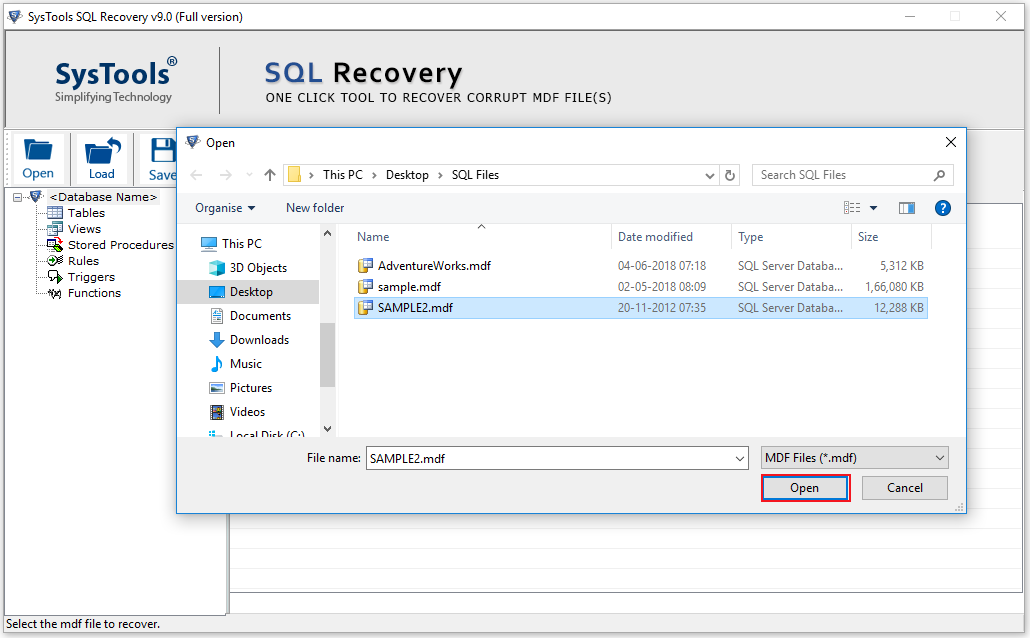
- Select the MDF file to add and click on 'Open' button as shown in below screenshot
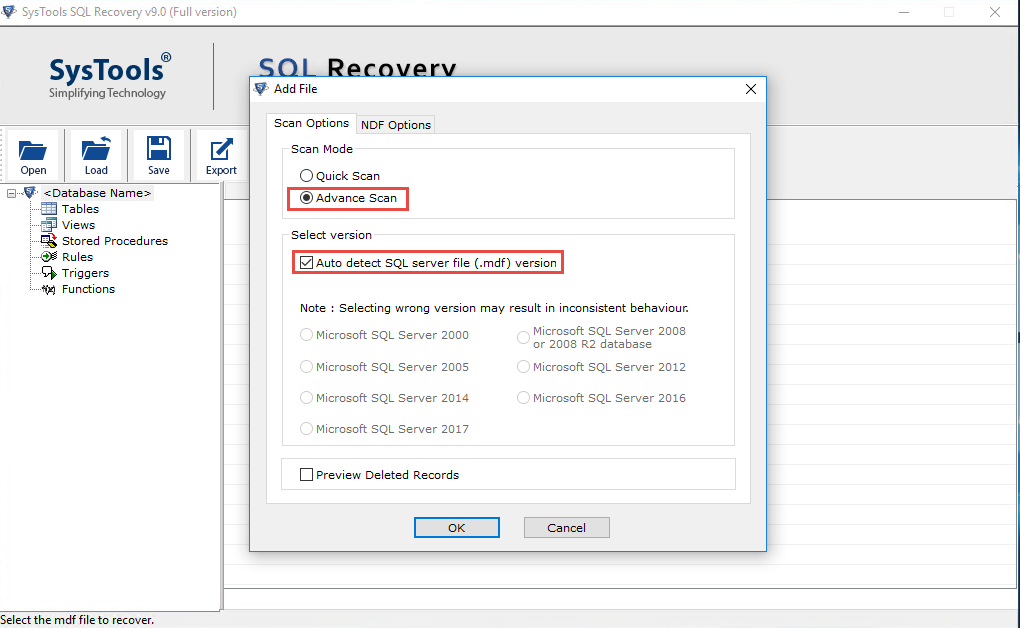
- Select the 'Scan Options' from the given option and then select the 'Scan Mode' according to intensity of corruption.
- Select 'NDF Options'. to add secondary database files by choosing one of the given option shown in below screenshot.
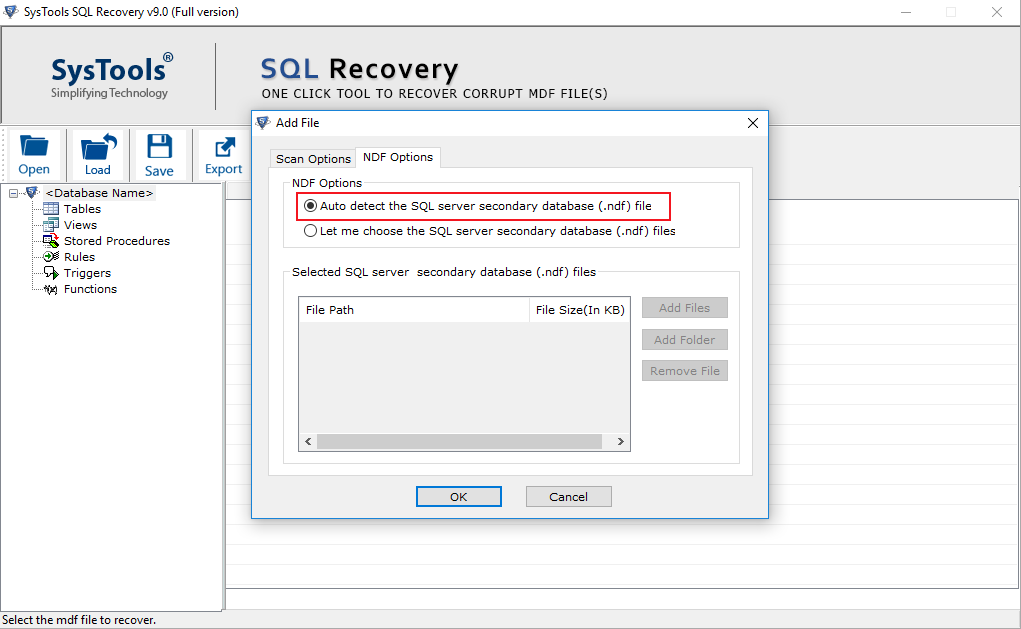
- After selecting secondary database file click on OK for further process or you can also Remove the selected file by clicking on 'Remove File' button.

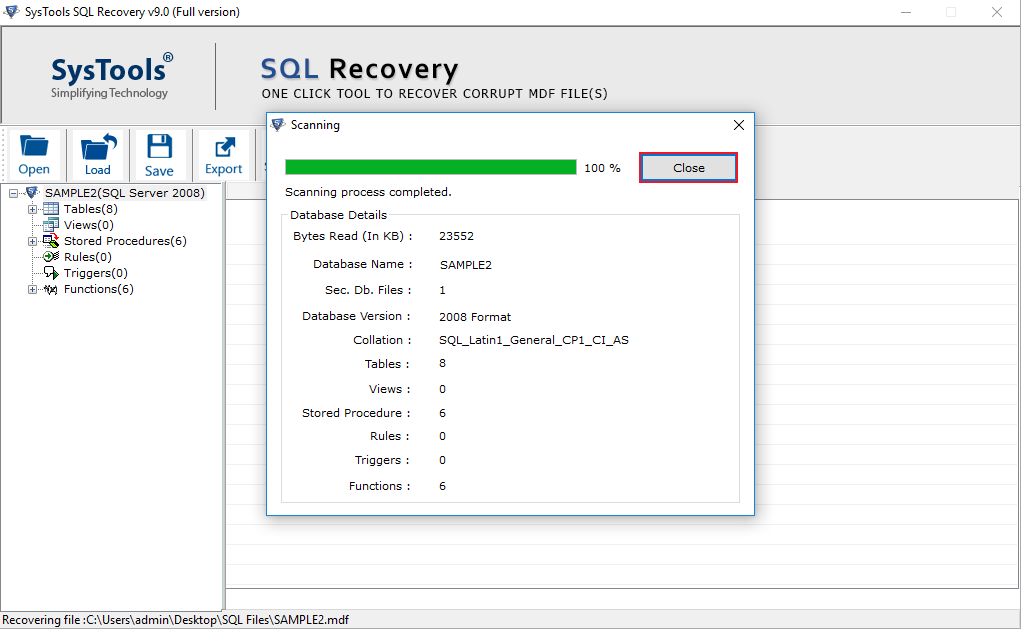
- The SQL MDF Recovery Software shows the details of scanned MDF file and prompts when scanning completes.
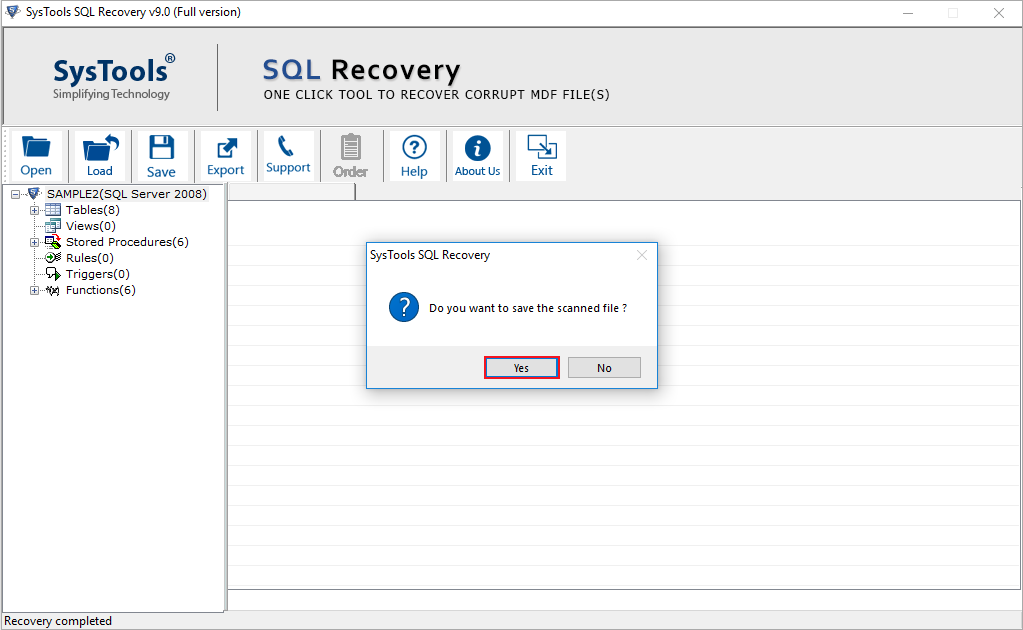
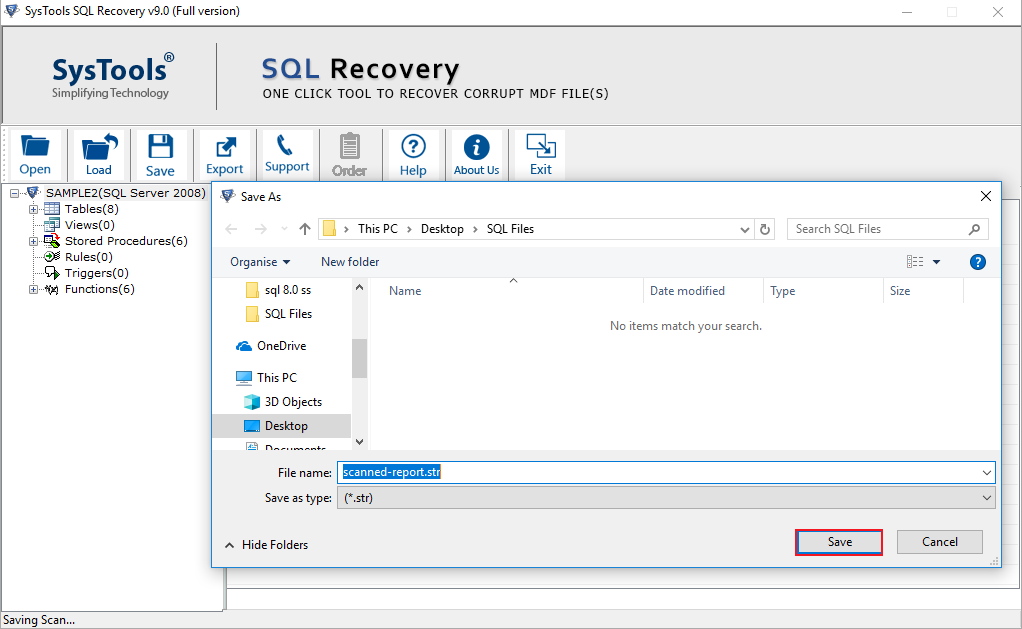
- Now the tool provides the option to save scanned MDF/NDF file by clicking on "Yes" otherwise "No"
- The .str file can be created, while saving scanned MDF file in your desired location.
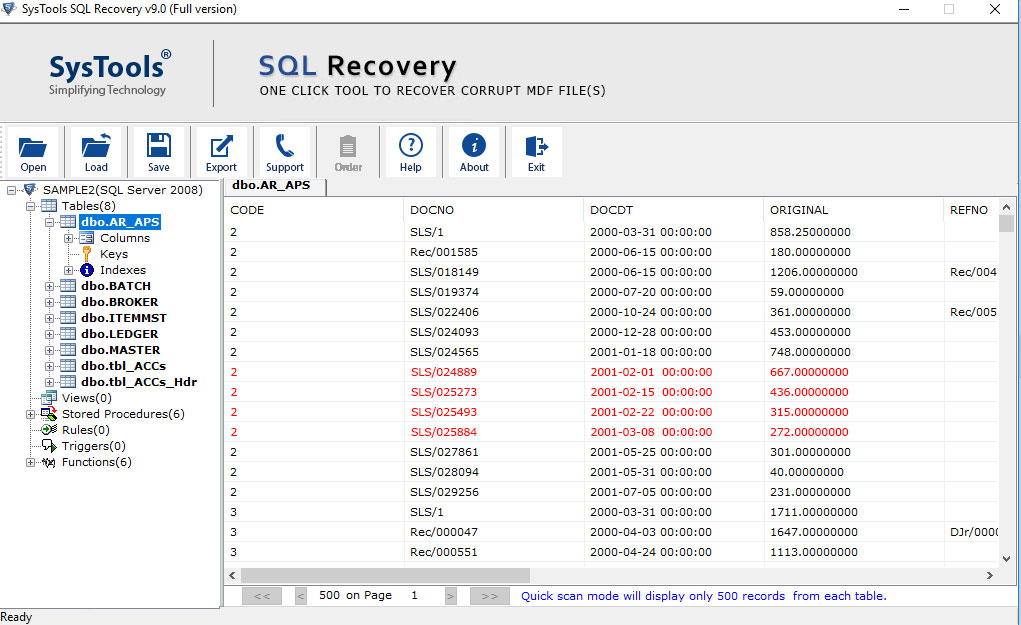
- The MDF recovery tool provides a Preview of recovered database of MDF and NDF files including details of tables, views, stored procedures, etc.
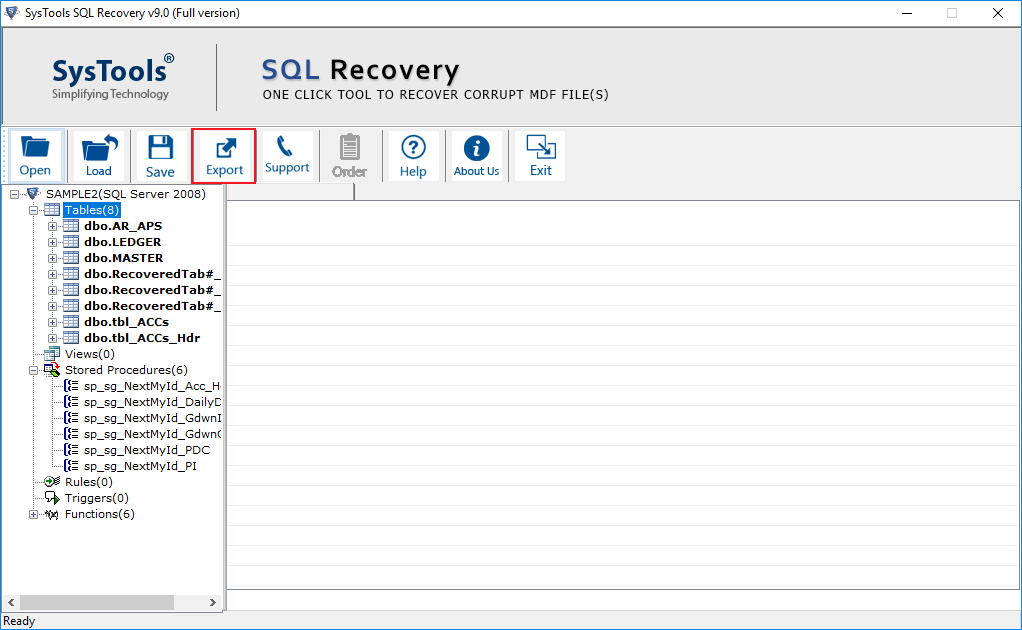
- click on Export to Export this recovered items.
- Now you can Export the recovered data directly in live SQL Server database or SQL Server Compatible SQL Scripts. For first option you will have to provide necessary credentials of SQL Server.
Note: Username and Password is not necessary when you are using Windows Server Authentication and not using SQL Server Authentication.
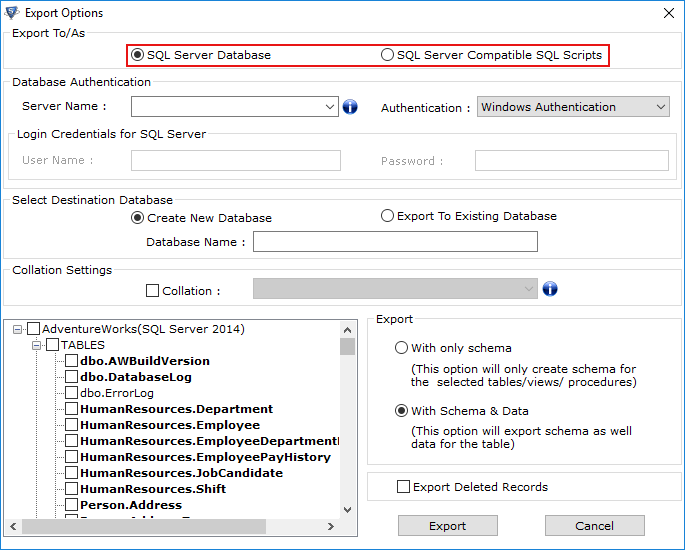
- If you choose the SQL Server Compatible SQL Scripts option SQL files will be created which can be later restored.
Select the desired items by checking them according to your need and only these items will be exported.
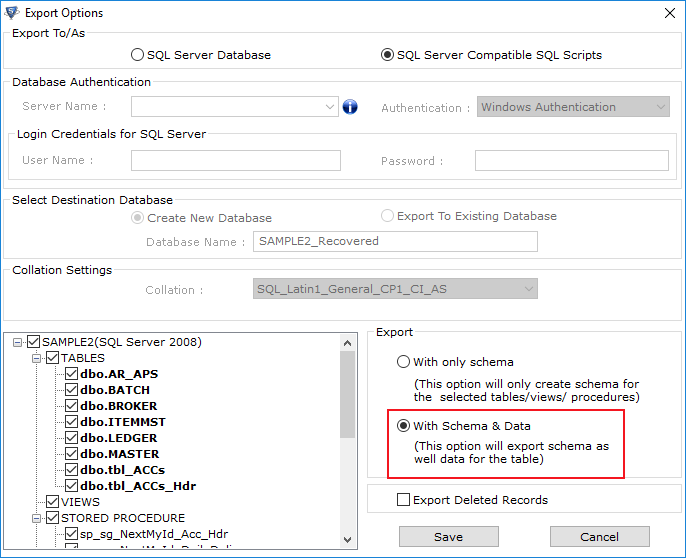
- In the bottom-right panel of the tool, select one of the given option :
1. Export Only Schema of selected tables/views/procedures.
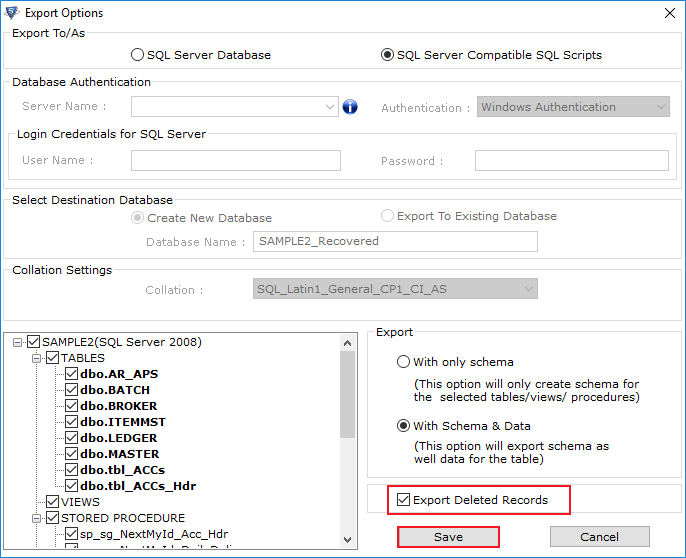
2. Export Schema with Data of tables.
Now, click on Export/Save tab to Export/Save the recovered data.
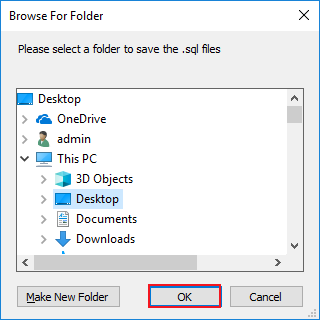
- Browse for the location path to save to the selected recovered items of SQL MDF files and click OK.
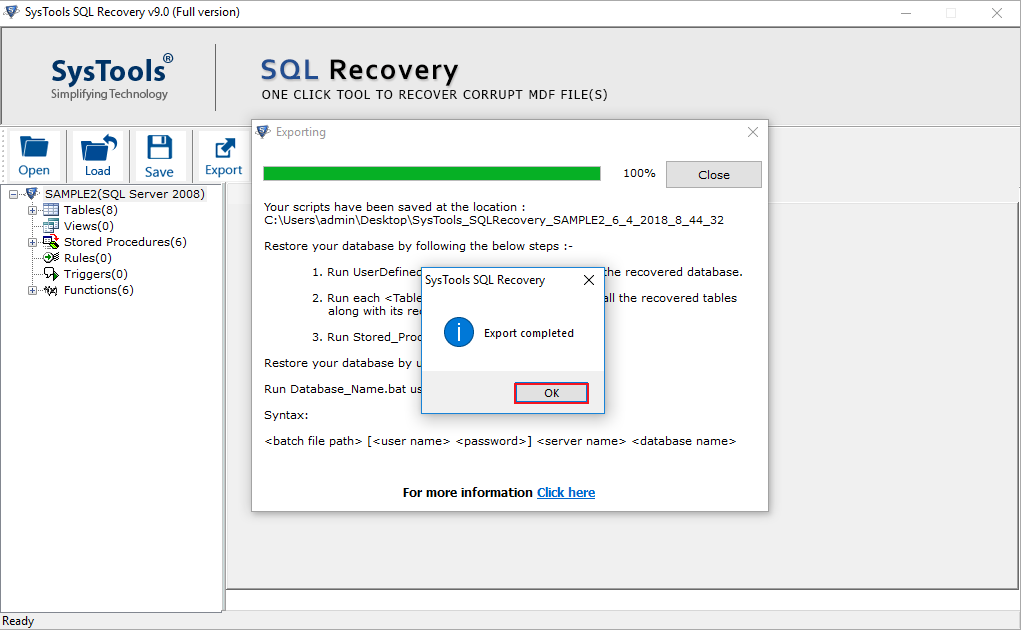
- After complition of Export and Recovery Process the Software will itself prompt you a message. Click OK.